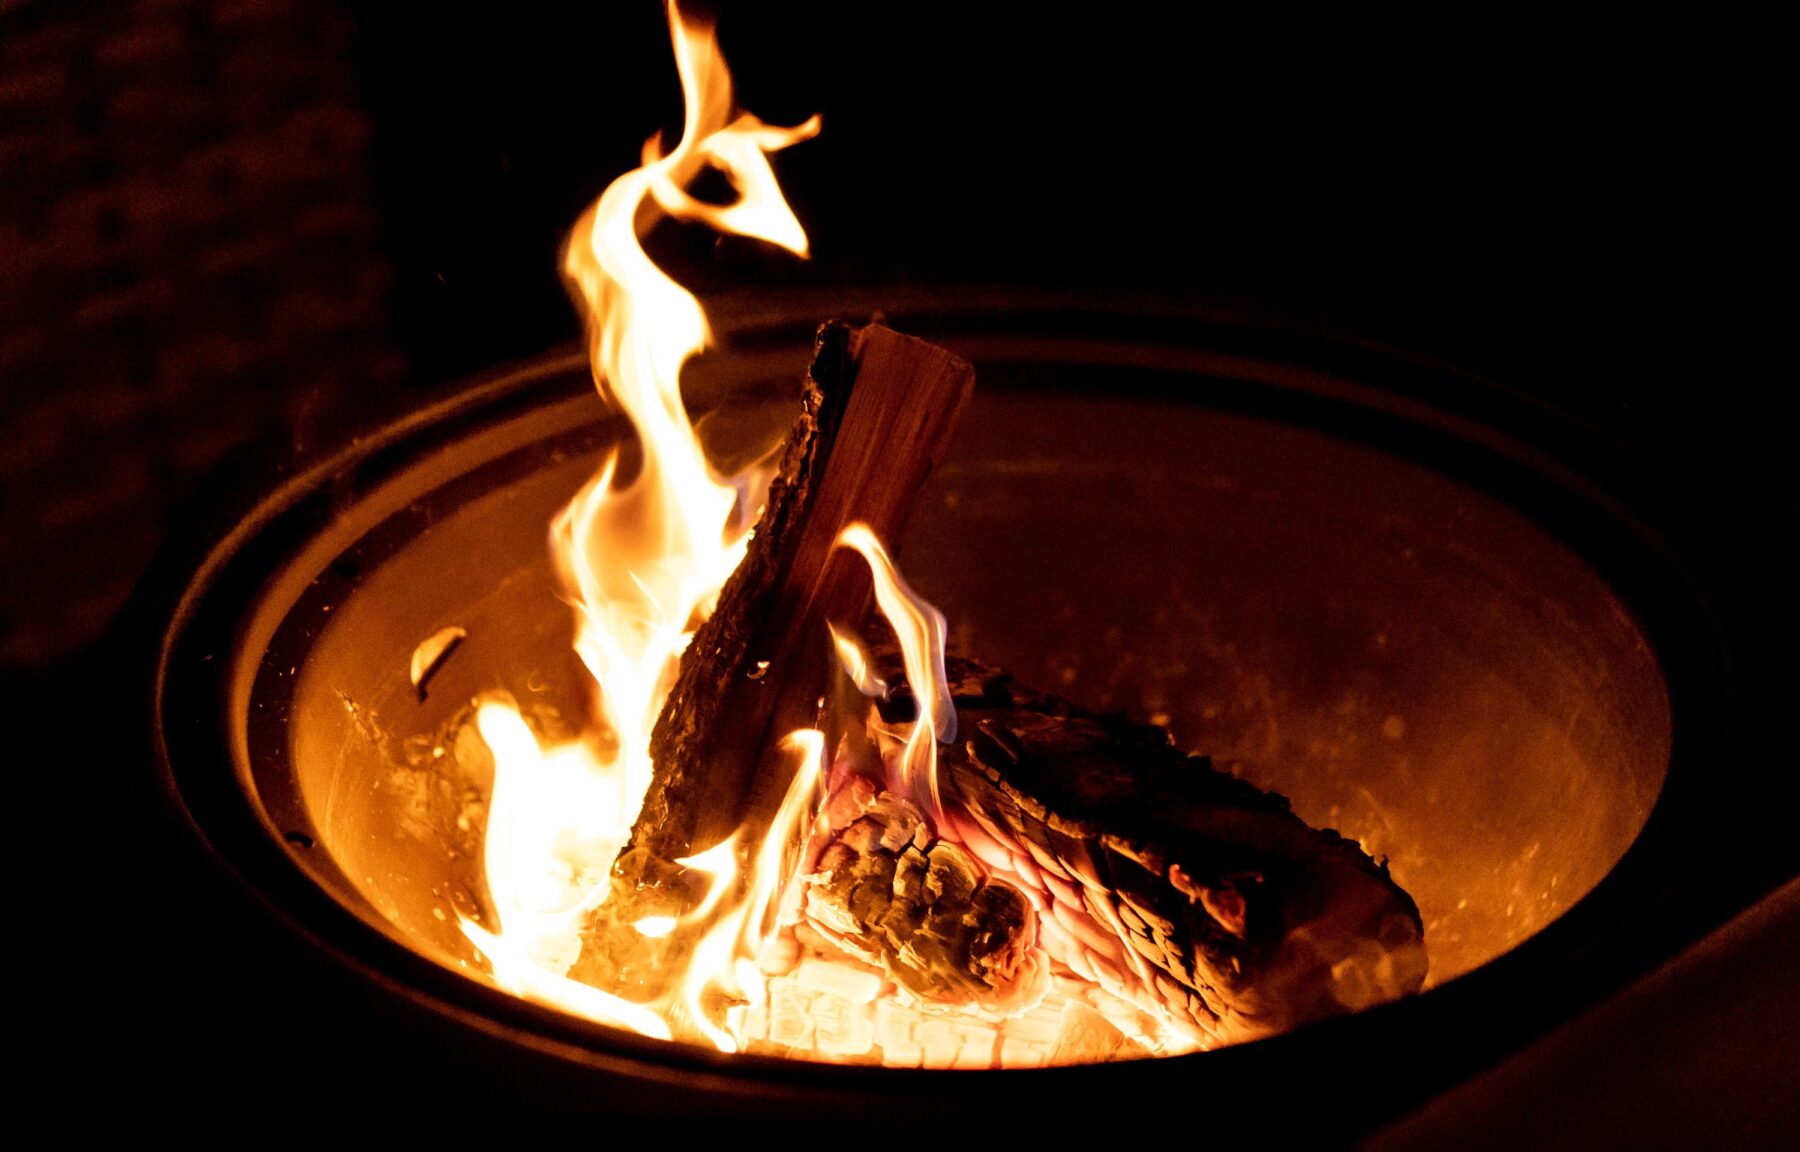
DIY Concrete Fire Pit: Step-by-Step Winter Project Guide
An excellent project for winter is a concrete fire pit, which can turn any outdoor area into a pleasant hideaway. Apart from being a useful heat source, it enhances the appearance of your garden and acts as the hub for social gatherings. With a little research, designing a visually stunning and long-lasting concrete fire pit is completely feasible.
November 27, 2024
Organization and Preparation
A concrete fire pit project’s success rests on careful design. Its important to choose a suitable spot first. The fire pit should ideally be positioned away from overhanging trees and on flat ground at least 10 feet away from buildings. Following local rules is crucial to places that have restrictions on fuel, kind, or size of a fire pit.
A carefully considered budget affords that all expenses, including tools, supplies, and possible licenses, are included. Building a fire pit that accentuates outdoor surroundings is just as important. To produce a coherent and useful design, consider its dimensions, form, and closeness to seating areas.
Key Tools and Materials
This project mostly uses high-strength concrete, chosen for its heat resistance and endurance. To improve the safety and lifetime of the pit, one can add fire-resistant bricks or stones. Materials for mold, including steel or ABS plastic, help the concrete be exactly shaped. Should you intend to build a gas-powered fire pit, a propane kit might be needed.
While cutting tools and forming materials are needed for a strong construction, instruments such mixing buckets, trowels, and tampers will help in preparation. To guarantee your safety when building, always wear gloves, goggles, and masks among other protective gear.
Step-by- Step building
First, mark the location for your fire pit. To create a strong basis, dig a six-inch-deep shallow hole then load it with gravel. Make sure to compact the gravel layer so the fire pit stays level and safe.
Next, shape the concrete with a form built out of metal or wood. To prevent leaks, securely close the mold; if necessary, employ spacers to produce consistent thickness. Then, pour the concrete mix into the mold, being sure to lightly tap the form to distribute it evenly and remove air pockets.
Finally, let the concrete cure totally; depending on the weather, this may take several days. After cured, gently remove the mold and check for flaws. If called for, sand the rough edges of the concrete. Along the pits inside edge, line fire-resistant bricks or stones to shield the concrete from direct flame contact.
Improvements for Visual Appeal
Around the fire pit, landscaping can make it a gorgeous centerpiece. In order to achieve this, make a clean border with gravel or ornamental stones. For an enticing arrangement, provide seating choices including chairs or benches that support the surrounding elements. For nighttime ambiance, gently light the area with string lights or lanterns.
Suggestions for Maintenance and Safety
It’s important to apply a waterproof sealer on the concrete to guarantee its longevity. Regular cleaning and crack or heat damage examination are also essential. As always, follow all safety rules for fuel choice and use and keep a water source or fire extinguisher close by. It’s also important to create a specific protective area around the fire pit for households with young children.
Creating a do-it-yourself concrete fire pit calls for imagination, workmanship, and utility. It is a classic feature to any house whether for roasting marshmallows or leisure by the fire. This project will not only improve your outside area but also offer a pleasant, welcoming location for events with proper planning and implementation.


